How to Install & Activate eSIM on iPhone
Ensure smooth and convenient connectivity on the go.
Summary
- Is my iPhone compatible with eSIM?
- When should I set up my eSIM for my iPhone?
- Preparing for eSIM installation on iPhone
- How to set up eSIM in iPhone
- How to activate eSIM in iPhone for travel
- Troubleshooting eSIM activation on iPhone
- Can I use Dual eSIMs on my iPhone?
- More useful eSIM installation and activation guides
Staying connected while traveling or managing multiple phone numbers has never been easier, thanks to eSIM technology. This blog will guide you through how to set up, install, and activate an eSIM on your iPhone, so you can enjoy seamless connectivity wherever you are.
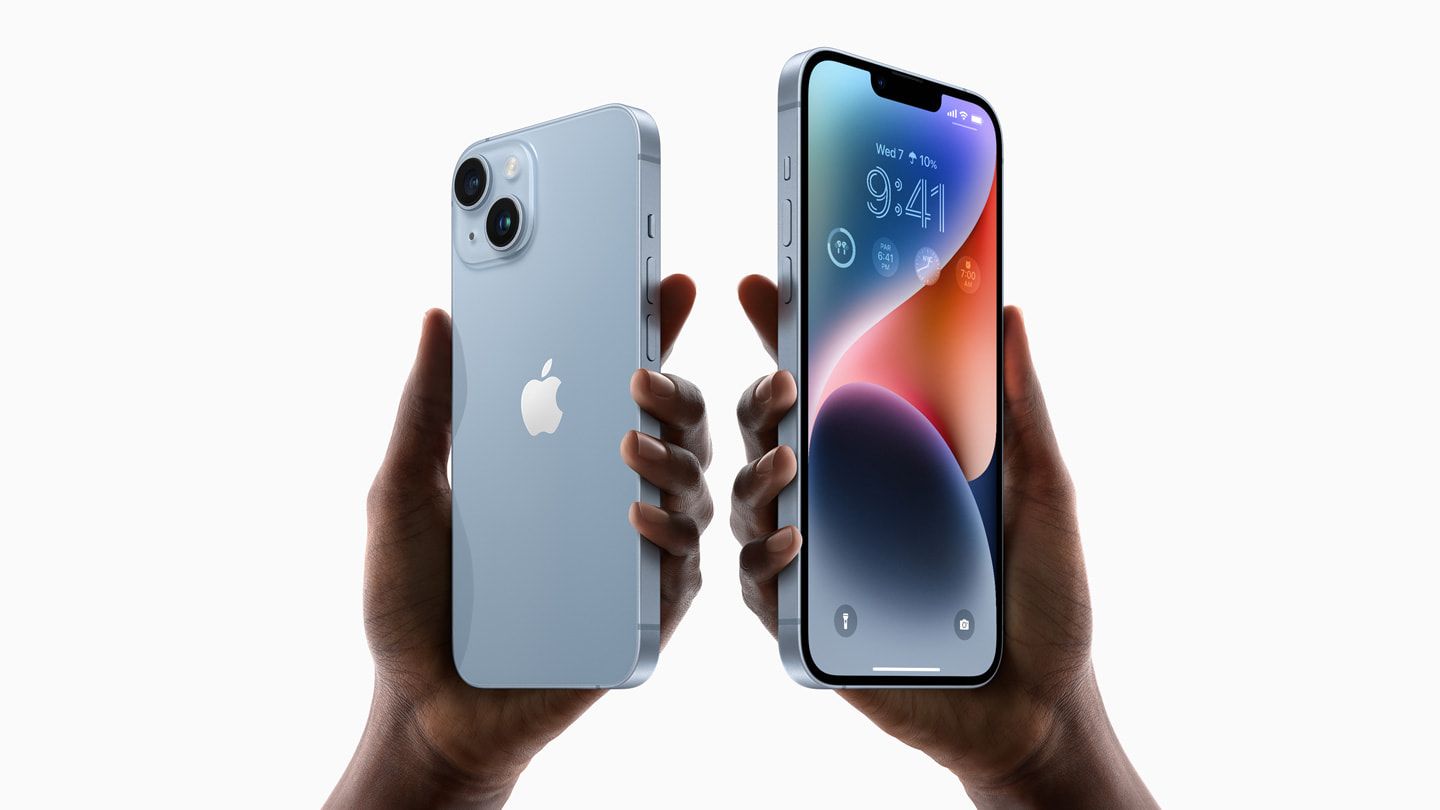
Is my iPhone compatible with eSIM?
With the removal of the physical SIM tray from the iPhone 14 in 2022, the eSIM has become essential for iPhone users. However, it’s still important to ensure that your iPhone is eSIM-compatible as not all models support them. Compatibility depends on:
- Device’s eSIM capability: A device needs an Embedded Identity Document (EID) number to support eSIM functionality.
- Local carrier locks: Some carriers might lock devices, preventing them from using eSIMs from other providers.
Before you attempt to purchase and install an eSIM in your iPhone, remember to check your device’s eSIM compatibility. Doing so will save you time and ensure a smooth setup process.

When should I set up my eSIM for my iPhone?
For general eSIM set up
One of the great things about eSIMs is their convenience – you can set up your eSIM on your iPhone anytime, anywhere, as long as you have a stable internet connection. Whether you're at home, in the office, or on the go, the process is designed to be flexible and user-friendly.
For travellers
If you're a traveller, it's generally best to set up your eSIM before you arrive at your destination. This is because the eSIM installation process requires a stable internet connection, which might be difficult or expensive to find immediately after you land.
Setting up your eSIM in advance means you can connect to a local network as soon as you step off the plane.
Preparing for eSIM installation on iPhone
Before you begin the eSIM installation process on your iPhone, a few quick preparations will ensure a smooth experience.
- Make sure you have a stable Wi-Fi or cellular network connection. This is essential for downloading and activating your eSIM profile.
- Have your QR code or activation URL readily available as you'll need this information during setup.
- Ensure your iOS device is updated to the latest software version, so as to avoid potential compatibility issues.
How to set up eSIM in iPhone

Automatic Installation
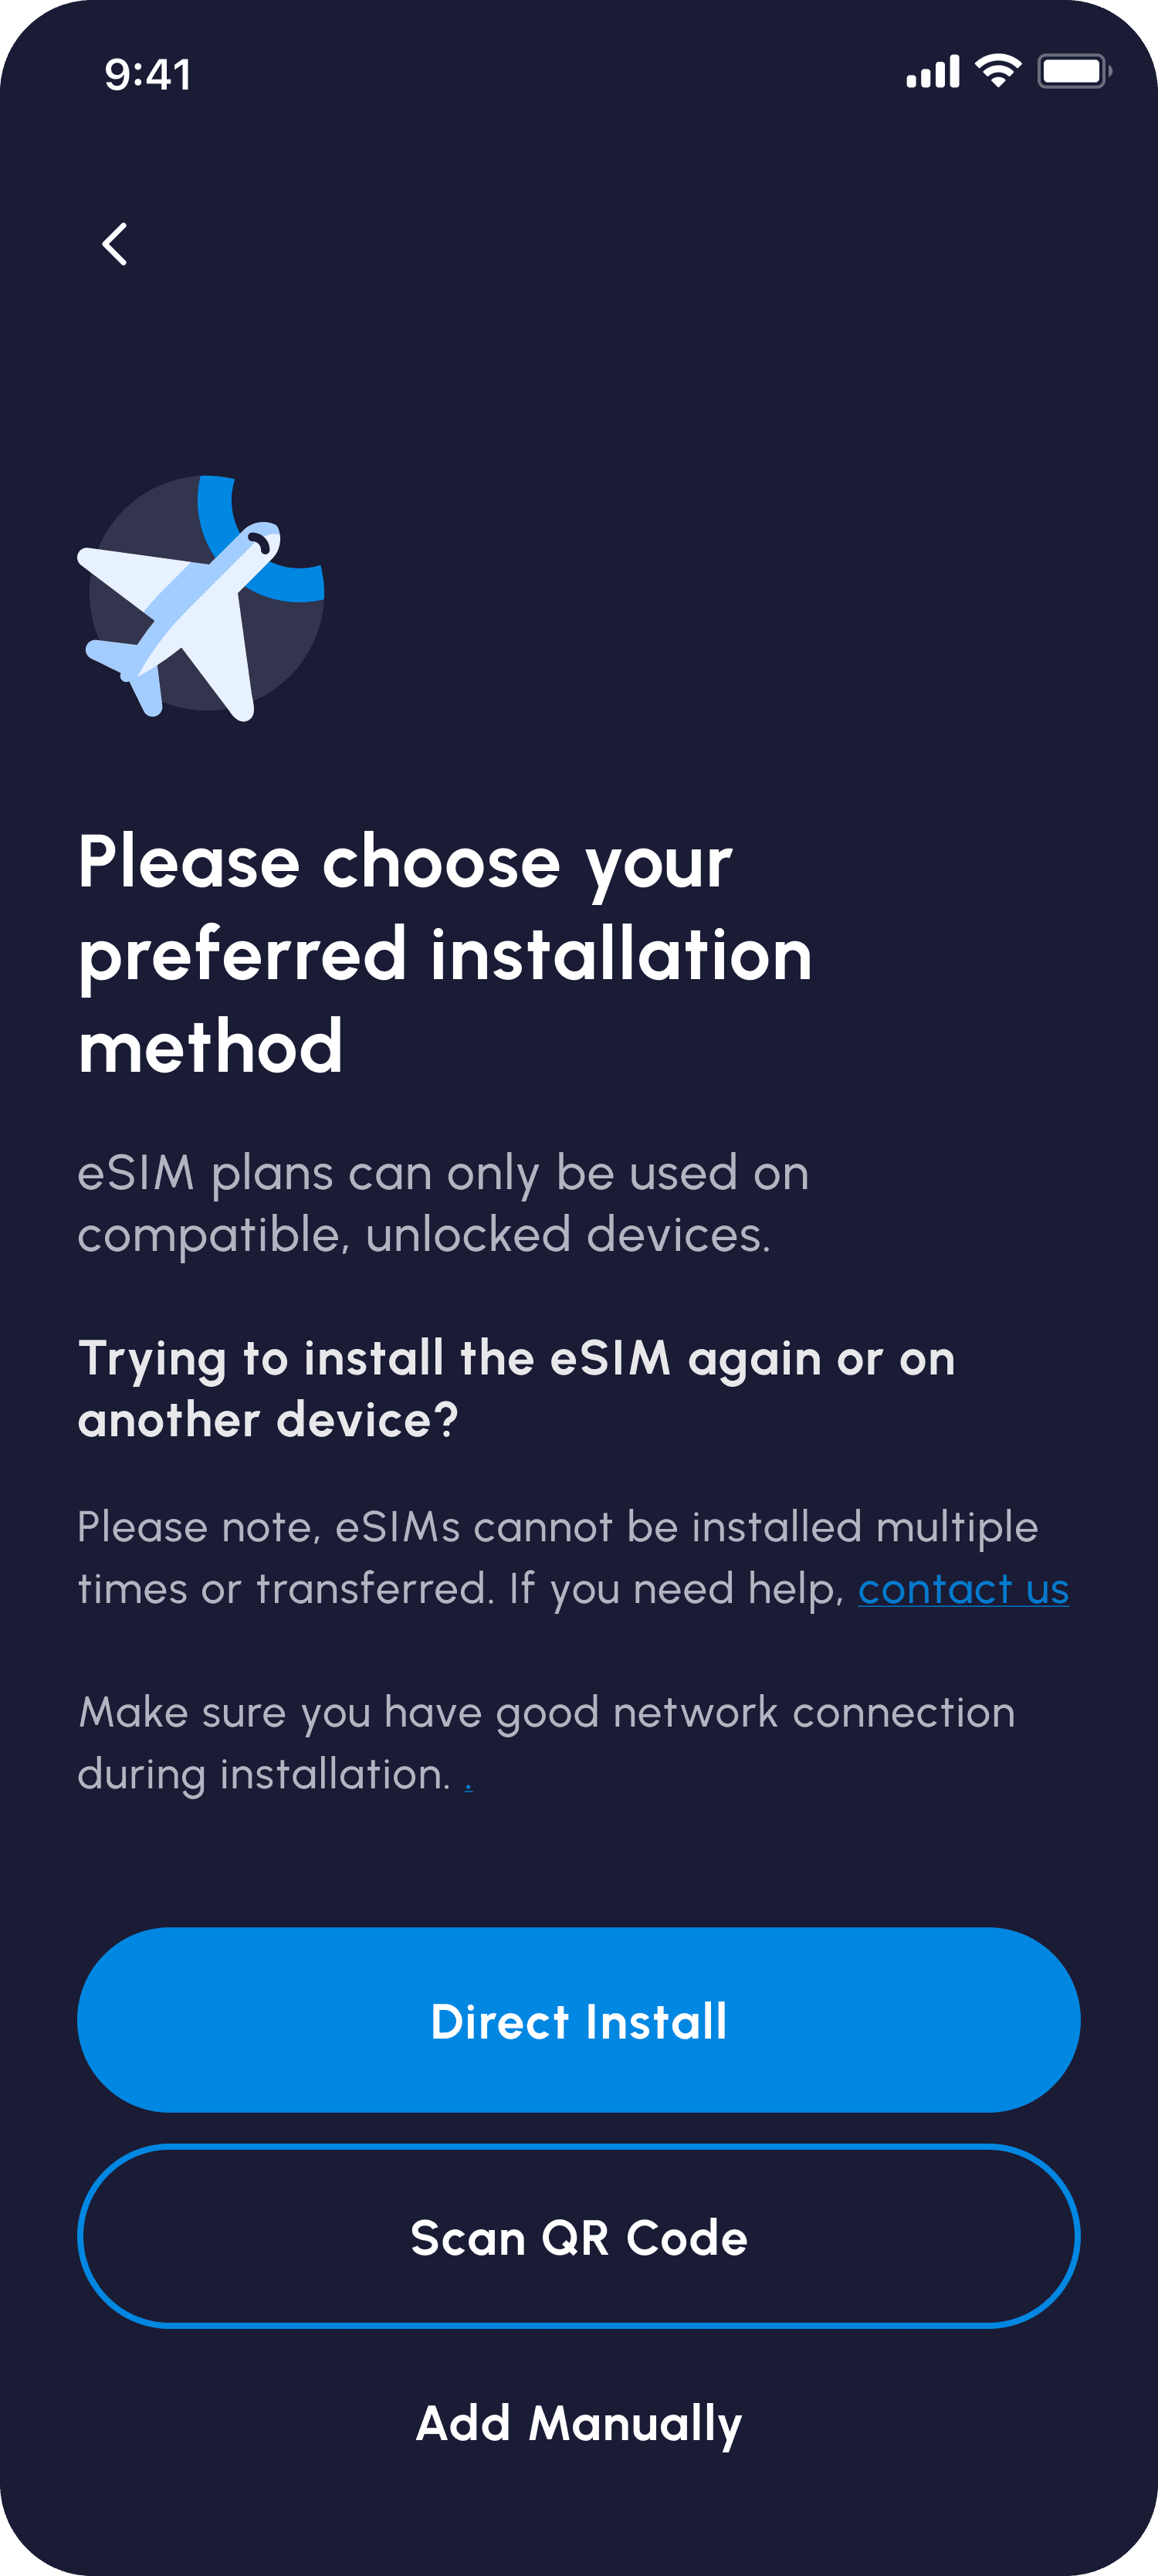
iOS devices now support automatic installation via a universal link. For example, if you’ve purchased an eSIM with Nomad, installation can be done within the app.
- On the Nomad iOS app, go to the “Manage eSIM” page.
- Select the eSIM you want to install and tap “Installation Instructions”.
- Choose the option to “Add automatically”, then tap “Install eSIM Now”.
- Follow the on-screen instructions to complete the installation.
QR installation
- Go to Settings > Cellular: This is the starting point for managing your iPhone's cellular plans.
- Initiate the QR code scanning process: Tap “Set up cellular” or “Add eSIM”, then tap “Use QR Code”: You might need to tap "Other Options" first.
- Scan the QR code: Position the iPhone to ensure that the code is clearly visible within the frame. For Nomad users, the QR code will be provided via in-app instructions and email.
Manual installation
If scanning the QR code isn't working, you can manually enter the eSIM details. To do so, tap "Enter Details Manually" instead of “Use QR Code”, and the screen will guide you through how to complete the installation on your iPhone.
If you’re a Nomad user, you can find the required information in your in-app instructions or purchase email.
Through the eSIM provider’s app
- Download the eSIM provider’s app from the iPhone App Store: Most providers, such as Nomad, offer dedicated apps for managing your account and services. You can activate your eSIM with the app.
- Activate cellular service: Follow the app’s instructions on how to complete the process. For Nomad users, detailed instructions are under “Installation Instructions” on the Manage eSIM page. Select “Add Automatically,” then “Install eSIM Now,” and follow the on-screen prompts.
How to activate eSIM in iPhone for travel

Installing your eSIM is just the first step; you also need to activate it to start using the service.
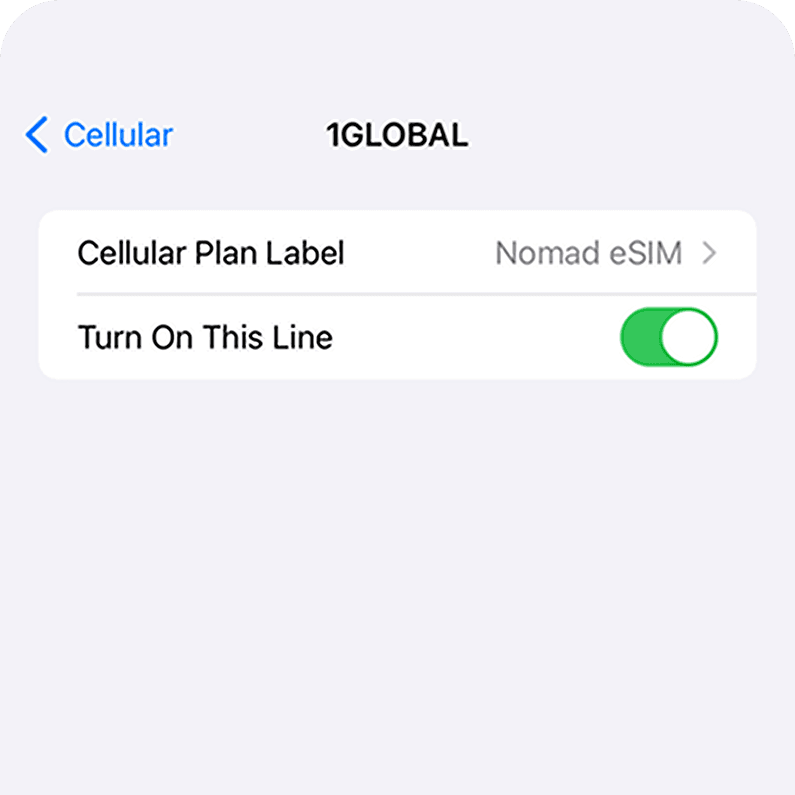
If you don't see a manual activation button, your eSIM will likely activate automatically upon arrival at your destination. For example, if you’re using a Nomad eSIM, turn it on in your iPhone’s settings once you land. It will automatically activate upon connecting to local networks.
For eSIMs that require manual activation, it's best to activate them just before you fly. This is because the process requires an internet connection, which you might not be able to access easily when you first arrive overseas.
Either way, do also enable Data Roaming for that eSIM.
To configure your eSIM, set your original number as "Primary" for calls, iMessage, and FaceTime. Then, select the new eSIM for cellular data. If you’re concerned about how to avoid roaming charges, you can also keep “Allow Mobile Data Switching" turned off to avoid unexpected surprises.
Troubleshooting eSIM activation on iPhone
eSIM “No Signal” issues
Experiencing poor signal or no service with your eSIM can be frustrating. If this happens, try these troubleshooting steps:
- Restart your iPhone: Turn your device off, wait a minute, and then turn it back on. This simple step often resolves minor software glitches.
- Update iOS: Make sure your iOS device is running on the latest software version. These updates often include bug fixes that can improve eSIM functionality.
- Check network coverage: eSIMs require a stable network connection to work. Verify that you're in an area with good coverage.
- Toggle eSIM settings: Go to Settings > Cellular, tap your eSIM data plan, and turn off "Turn On This Line." Wait a few seconds, then turn it back on.
- Toggle network selection: In the same settings page, turn off the "Automatic" network search. This forces your iPhone to scan for available networks manually.
Intermittent eSIM connectivity issues
Some users might encounter repeated connection drops with their eSIMs after activation, which can be disruptive. Here’s how you can troubleshoot the problem:
- Restart your iPhone: Power your device off, wait a minute, and then power it back on to refresh its network connection.
- Toggle Airplane Mode: Activate Airplane Mode for a few seconds, then deactivate it. Doing so can reset your iPhone's cellular connection.
- Check network selection: Ensure the correct carrier is selected in your network settings, as an incorrect selection can cause connectivity issues.
- Update iOS: Keeping your iOS software up-to-date is crucial for optimal performance and bug fixes. Make sure you're running the latest version.
- Toggle eSIM settings: Go to Settings > Cellular, tap your eSIM data plan, and toggle "Turn On This Line" off and then on again after a few seconds.
- Toggle network selection: In your cellular settings, try toggling off the "Automatic" network search so that you can manually select a network.
eSIM network compatibility issues
Sometimes, your eSIM might not be recognized or compatible with the cellular network provider you're trying to use. If you encounter this issue, first verify that your iPhone supports eSIM technology and that your chosen cellular network provider offers eSIM support.
Other than that, you can also:
- Check for carrier updates: Sometimes, carriers release updates necessary for eSIM compatibility. Find out if an update is available under Settings > General > About. If an update is available, you'll be prompted to install it.
- Reset network settings: This can sometimes resolve network configuration issues. Go to Settings > General > Transfer or Reset iPhone > Reset > Reset Network Settings. Be aware that this will erase saved Wi-Fi passwords, so you'll need to re-enter them.
- Contact your eSIM provider: Based on information such as your iPhone model, eSIM details, and the network that you’re trying to connect to, your carrier can help to diagnose the issue. They may reissue your eSIM or check for any network-specific issues in your area.
Primary line and secondary line switching issues
Unexpected switching between primary and secondary eSIMs on your iPhone can be frustrating. This situation often stems from incorrect eSIM settings, software glitches, or network problems. To address this issue, here are a few things you can try:
- Check primary SIM selection: Go to Cellular settings and ensure the correct eSIM profile is selected as your primary SIM. This designates which number is used for calls and texts.
- Verify primary eSIM designation: If you have multiple eSIMs, double-check that the eSIM you want to use as your primary line is correctly designated as such.
- Toggle automatic switching: Turn off and on the "Automatic" option for cellular data switching to help your iPhone prioritize the correct eSIM. However, do note that doing so may result in data roaming charges.
Can I use Dual eSIMs on my iPhone?
The iPhone’s Dual SIM functionality lets you use two phone numbers on one device, offering convenient connectivity. All iPhone models that support eSIMs can have multiple eSIMs and utilize Dual SIM with two active SIMs simultaneously.
Depending on your iPhone model, these SIMs can be either physical or eSIMs. Here’s how you can use Dual SIM on iPhone:
- Label the plans: After activating both plans, label them to easily identify which number to use for different purposes, such as business, personal, and travel.
- Set default number: Choose a default number for calls and messages with people outside your contacts. This number also determines the cellular plan used for iMessage and FaceTime.
Dual SIMs are incredibly helpful, especially for travelers. For example, with a Nomad eSIM, you can stay connected with people back home on your original number while also having local data at your travel destination.
More useful eSIM installation and activation guides
Want to learn how to install an eSIM on Androids or other devices? Check out these helpful guides: