

Travel like a local with Nomad


Get Nomad eSIM for your adventure, and stay connected as you explore. Choose from a range of affordable prepaid data plans (1GB to 50GB) and Day Plans (1 Day to 7 Days) with high-speed data connections that best suit your needs. Save your wallet from expensive roaming fees.
Nomad's affordable eSIM plans, high-speed data connection, and 24/7 Customer Support ensure a delightful and hassle-free travel experience for you.
Experience 4G/5G Speeds
Great network coverage
No expensive roaming charges
Easy install within seconds
Save time, more peace of mind
No need for Pocket Wi-Fi
eSIM stands for embedded SIM and allows you to get connected anywhere, anytime. It works like a traditional SIM card, except without a need for the physical card. As long as your device is compatible, you will be able to use an eSIM.
Check to see if your phone is eSIM compatible.
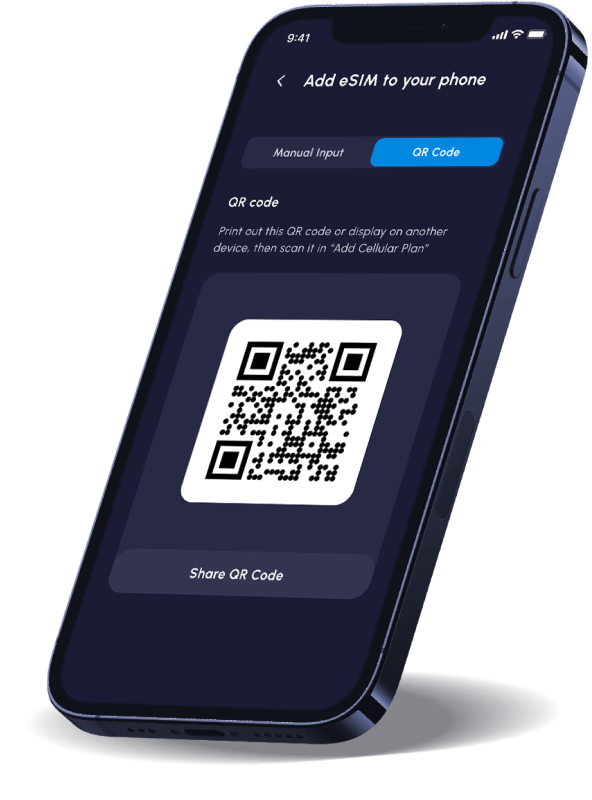
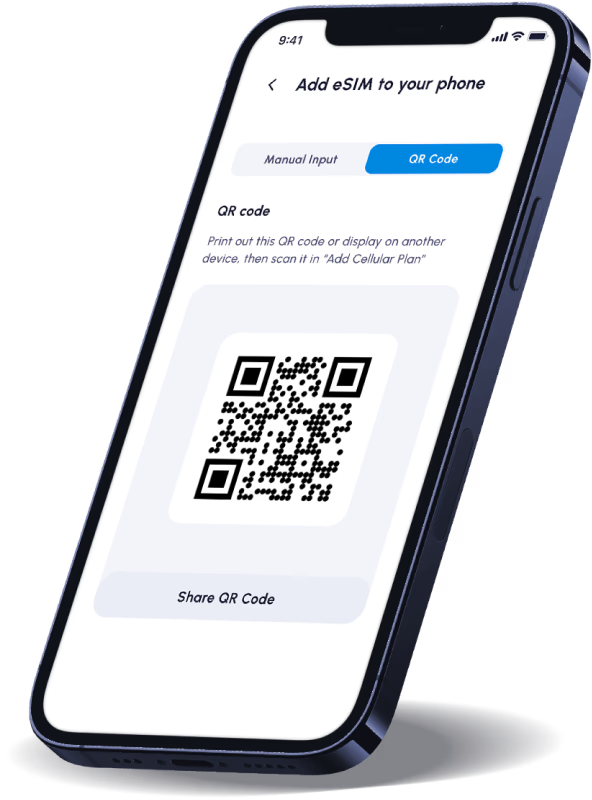
The recommended way to install your eSIM is through the QR code we provided via in-app instruction and email.
a. On iOS: Go to Settings > Cellular (or Mobile Data) > Add Cellular Plan (or Add Data Plan), then scan the QR code
b. On Android (Google Pixel): Go to Settings > Network and Internet > SIMs > Add More> Download a SIM instead, and then scan the QR code
c. On Android (Samsung): Go to Settings > Connections > SIM Card Manager > Add Mobile Plan > Scan QR code
For more information refer to this blog post.
Remember to turn “Data Roaming” on to start using your data!
You will get a notification when your data is running low OR when your plan is about to expire.
Most of our plans have add-ons available. If you run out of data, simply purchase an add-on plan from our shop to top up your data volume. The additional data will be tied to the main eSIM.
You can buy and install the eSIM now but activate only when you need it. Just make sure to activate your plan within 30 days of purchase date. After that, it will automatically activate and start the expiry.
Scan the QR code that is provided to install your eSIM. You will need internet connection to install your eSIM. The eSIM is now added to your phone.
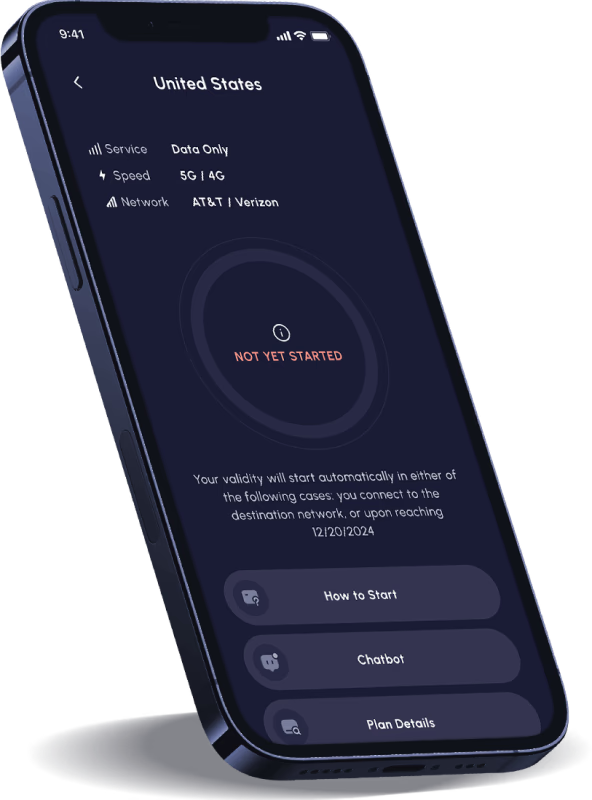
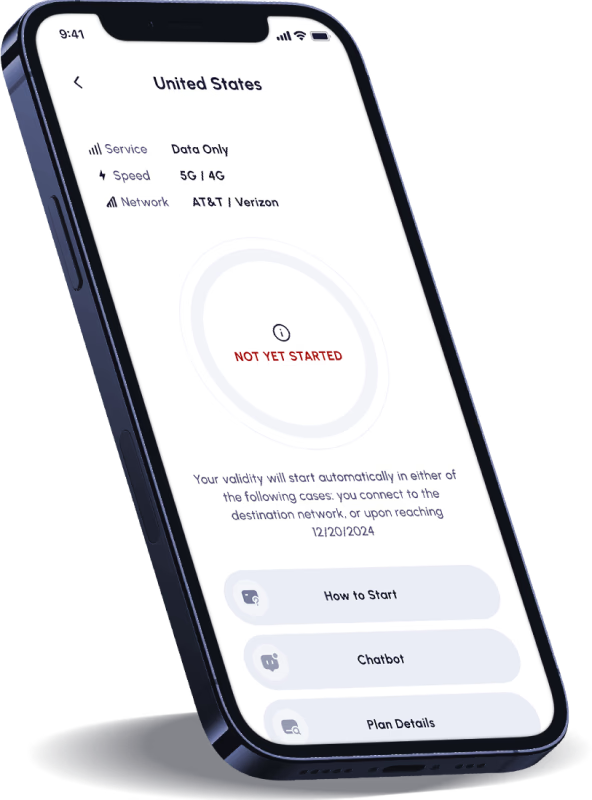
Your plan will start automatically once connected to the destination network (as detailed in Step 3).
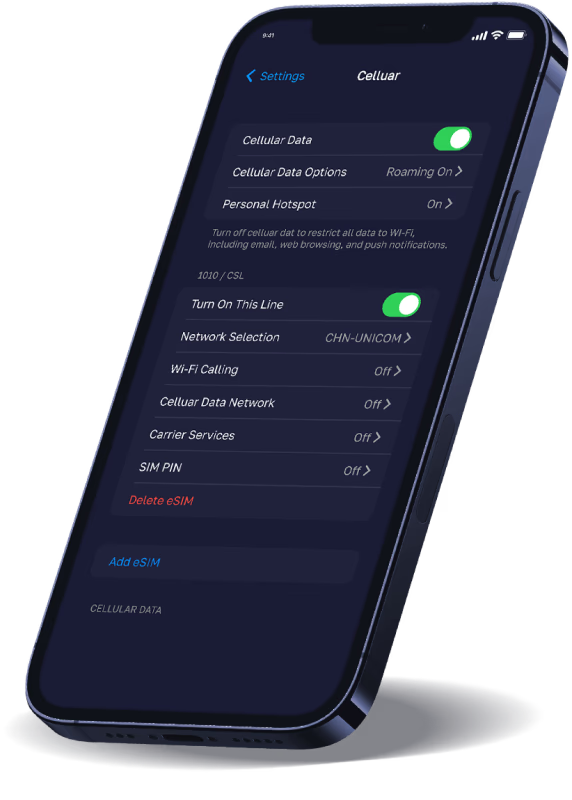
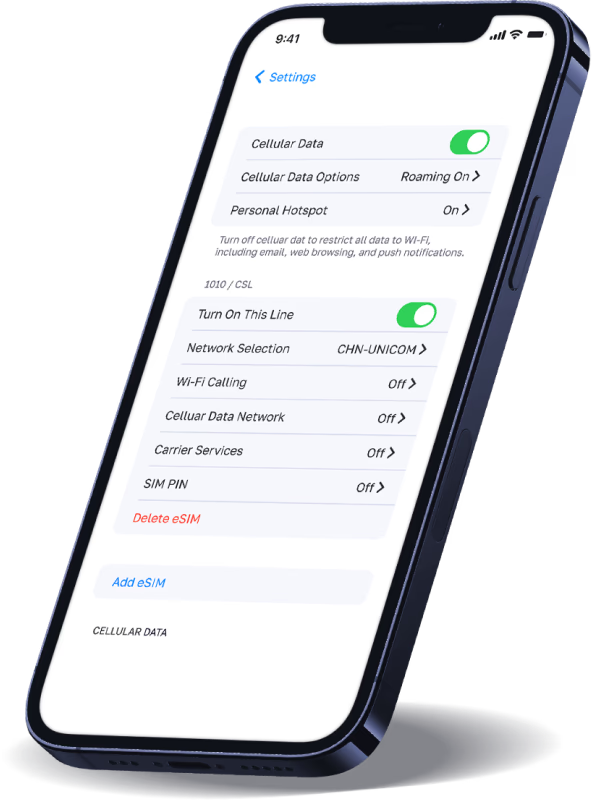
Step 1. Go to Settings > Cellular and turn this line on.
Step 2. Make sure "Data Roaming" is toggled on and you are selecting the Nomad eSIM for "Cellular Data".
