eSIM, Device Compatibility
Is it possible to install my eSIM on my iPhone without activating it?
We know it can be confusing, so we're here to help.
Travel eSIMs offer travelers with flexibility and convenience, but it is true that there are users who might struggle with the installation and activation process of an eSIM. And, we don’t exactly blame them - especially not when the installation and activation process appears to be constantly changing with each iOS upgrade or Android upgrade. With a better understanding of what it means to install and activate your eSIM, perhaps this will help to clear out any questions that you might have. And let’s settle it once and for all - can you actually install an eSIM without activating it?

What is an eSIM?
An eSIM, short for embedded SIM, is a small chip embedded in smartphones, tablets, smartwatches, and other devices that allow the devices to connect to a network without the need for a physical SIM card.
For your device to be able to connect to a network, an eSIM profile will need to be added to your device. This eSIM profile will contain the information that the carriers need to authenticate and authorise your connection.
The embedded chip, together with the eSIM profile, will perform similar functions to a physical SIM card.
Highly rated 4.4/5.0 on Trustpilot
Save up to 50% on roaming
Fast and reliable network
Installation vs. Activation
To address the question at hand, it's essential to distinguish between installing an eSIM and activating it:
- Installation refers to the process of downloading the eSIM profile onto the device. This profile contains all the necessary information for the device to connect to a specific carrier's network.
- Activation involves the carrier enabling the eSIM profile on their network, allowing the device to access mobile services such as calls, texts, and data.
For your eSIM to work, you will need to go through both the installation and activation process.
Is Installation Without Activation Possible?
The instructions from the travel eSIM providers tell you that you need to install your eSIM and it will activate automatically upon arrival at your destination. Cool, so you follow the instructions, but the first thing your iPhone asks is whether you want to activate your eSIM.
Huh, now what?
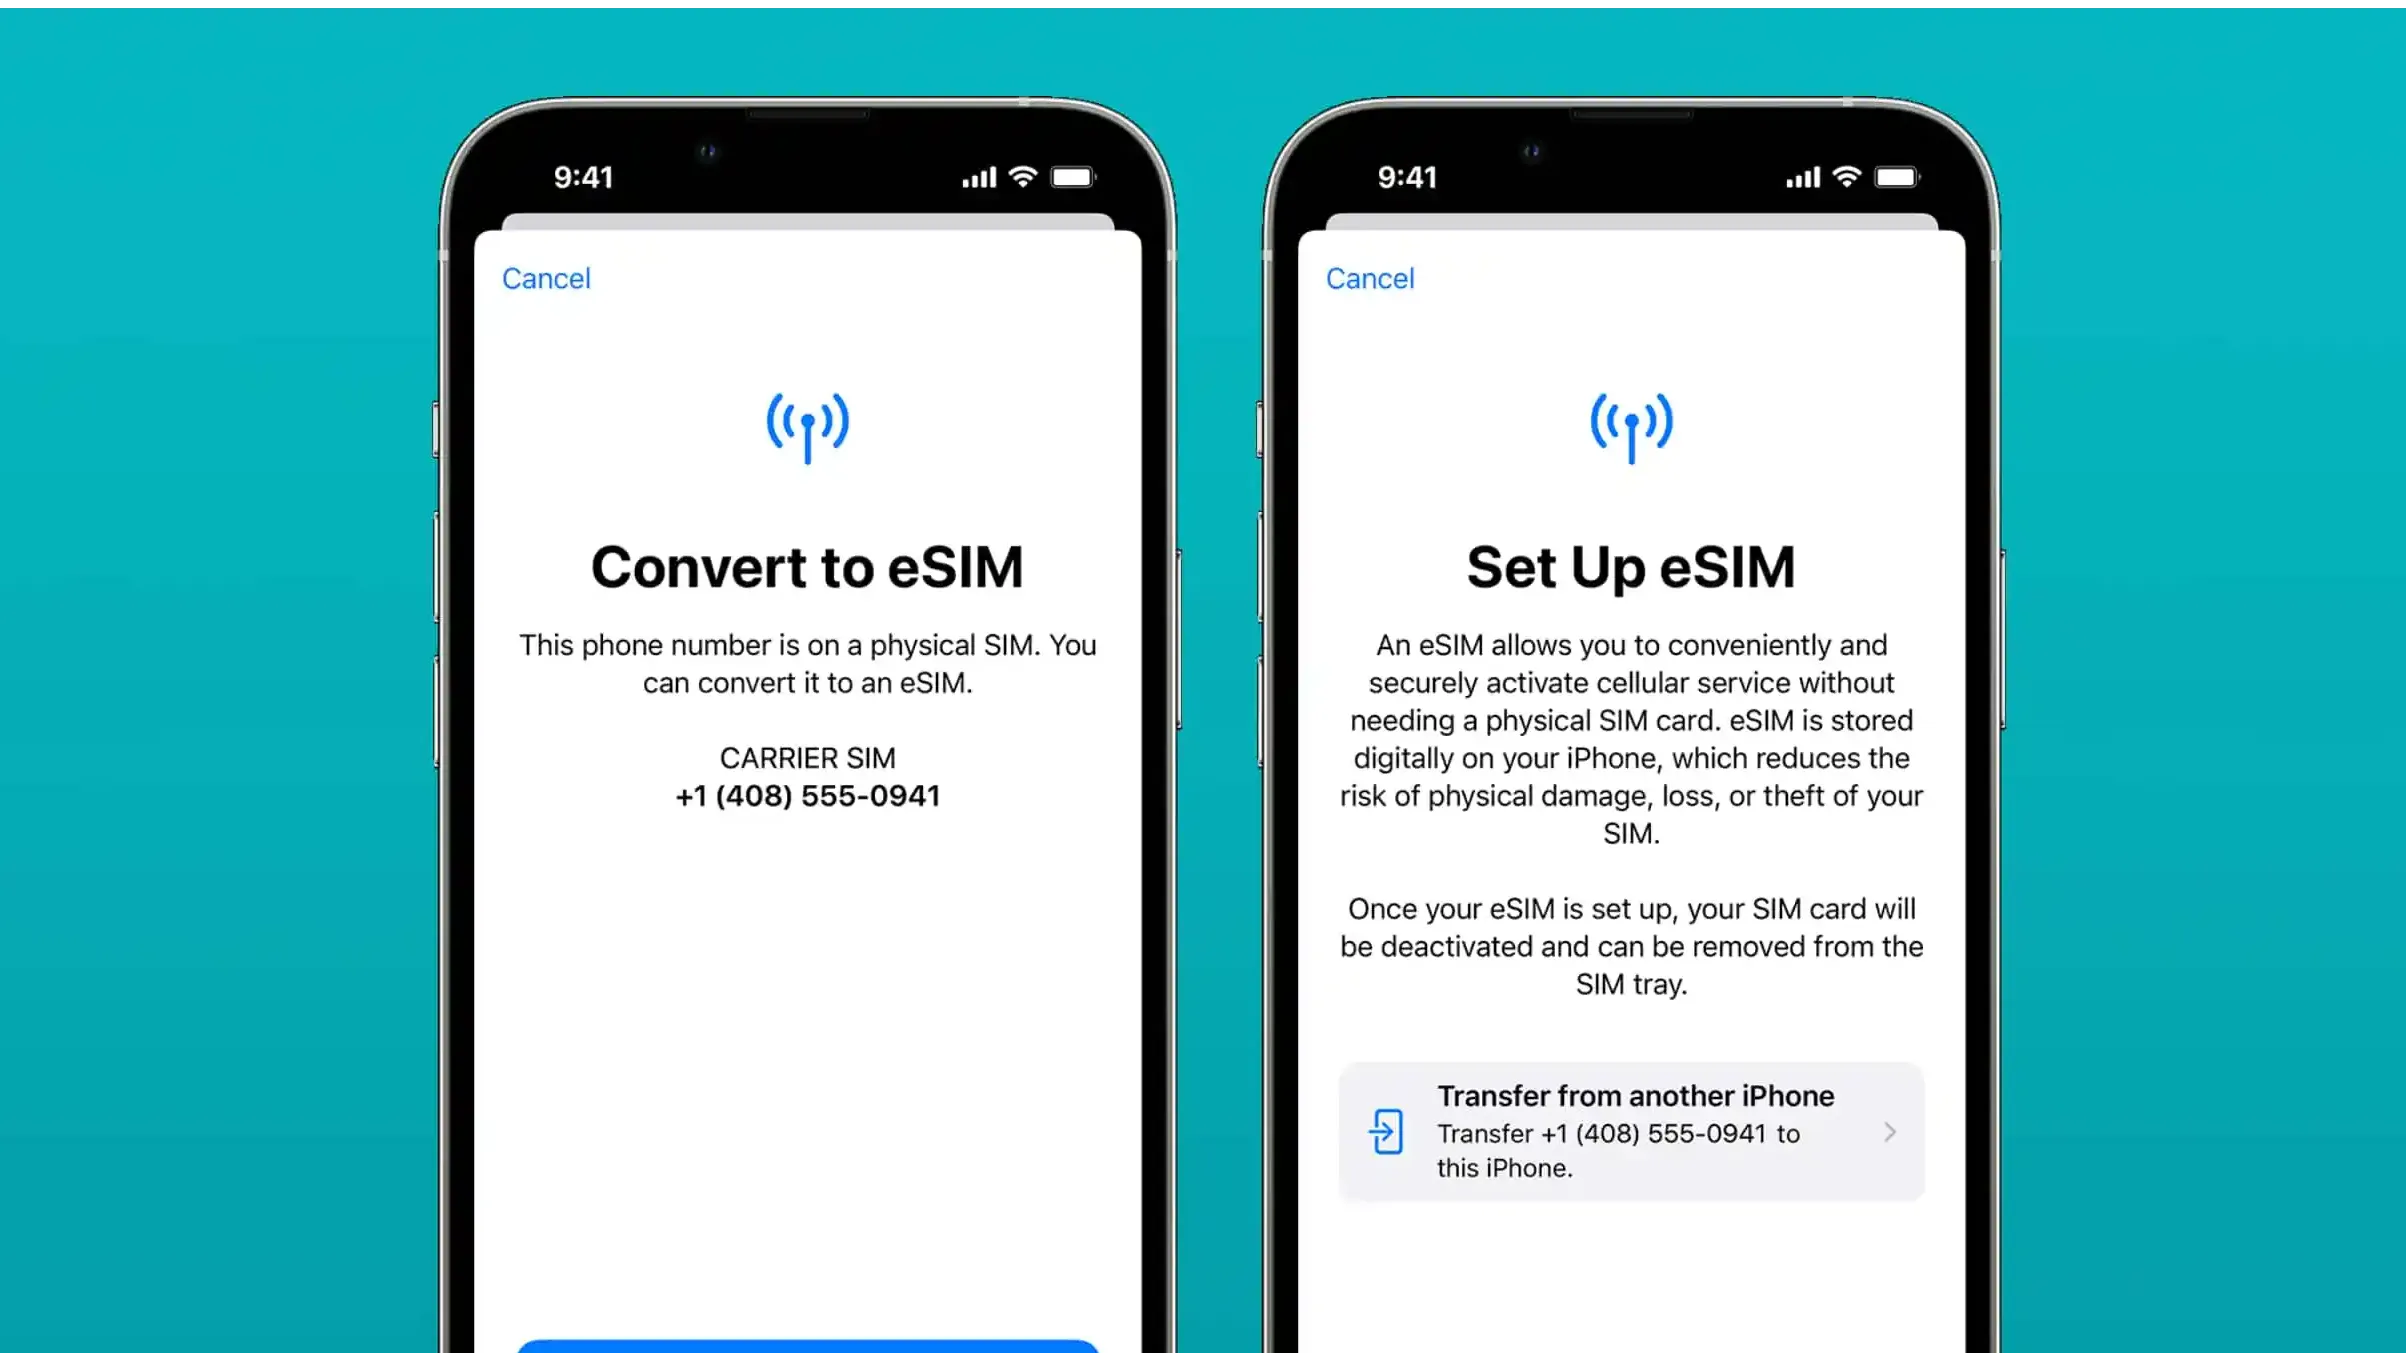
When you scan the QR code for your eSIM installation, you might see a prompt on your iPhone asking if you want to activate your eSIM. If you choose the option that you do not want to, you’ll probably realise that your eSIM doesn’t actually get added to your device.
So, yes - if prompted if you want to activate your eSIM, just select “Yes”.
We get that this can be confusing, and you probably don’t want your plan to get started even before you start your trip. So, should you go ahead and say that you want to activate your plan? Well, let’s sort out what is happening - and whether you can actually go through the installation process without activating your plan.
But in case you wanted the answer without the explanation, the answer is that in most cases yes, you can — but, look out for the plan details of your travel eSIM to be sure. Some providers or plans will start your plan validity upon installation.
Installation and Activation
When you scan the QR code for your eSIM, there are actually two things that happen: installation, then activation.
Although it might look like a single step, what actually happens is that the eSIM profile first gets added to your device, then your iPhone tries to activate the eSIM.
What that essentially means is that it is definitely possible that your eSIM was already successfully added to your device but doesn’t successfully activate (or it gets stuck at Activating….).
eSIM Activation vs Plan Activation
Now, it is important to note the difference between eSIM activation and plan activation.
It is absolutely possible that your eSIM gets activated, but your plan doesn’t — and what you should be concern about is your plan activation (and not so much your eSIM activation). The validity of your plan starts from the time your plan gets activated.
Typically, your plan will only start when it first connects to a local network. But, check your plan details for more information on when your plan starts.
What that means is that even if your eSIM is activated, but you haven’t connected to a local network, your plan will not get activated — so you don’t necessarily have to worry about the activation status of your eSIM at the point of installation (well, unless you are already at your destination).
How to check if your eSIM was added
To check if your eSIM was successfully added to your device, simply go to your iPhone settings and check if your eSIM has been listed. As long as you see the eSIM in the list of available SIMs, you can be sure that your eSIM profile has been added to your device.
If the eSIM profile has been successfully added to your device, you do not have to worry even if the eSIM is stuck at ‘Activating…’, or if it is not activated — at least not until your trip. Remember that eSIMs are one-time install, so do not remove it from your device.
Also, since it has already been added to your device, if you attempt to scan the QR code again, you’ll get an error that the code is no longer valid.
Activating your eSIM plan
When you are ready to start using your eSIM upon arrival at your destination, simply go to your phone settings and turn on the eSIM. Remember to also turn on Data Roaming for your eSIM so that you can access the internet!
Get a Nomad eSIM to stay connected hassle-free when traveling
Nomad offers data plans in over 200 countries, and you can be sure to find one that is suitable for your travel needs. And if you will be traveling across multiple countries, there are also regional plans available so you can stay seamlessly connected as you hop between countries. Data plans are available from as low as $1.10/GB.
Most of Nomad’s eSIM plans start automatically upon connection to the local network, so you can safely install your eSIM before your trip (and you probably should) without worrying that the plan gets activated too early. Double-check your plan details before purchase to be sure of the activation conditions.
If you share your Nomad referral code with your friends, your friend will be able to enjoy $5 off their first purchase (only applicable for plans $10 and more). You will also be able to enjoy $5 off your next purchase (only applicable for plans $10 and more).


