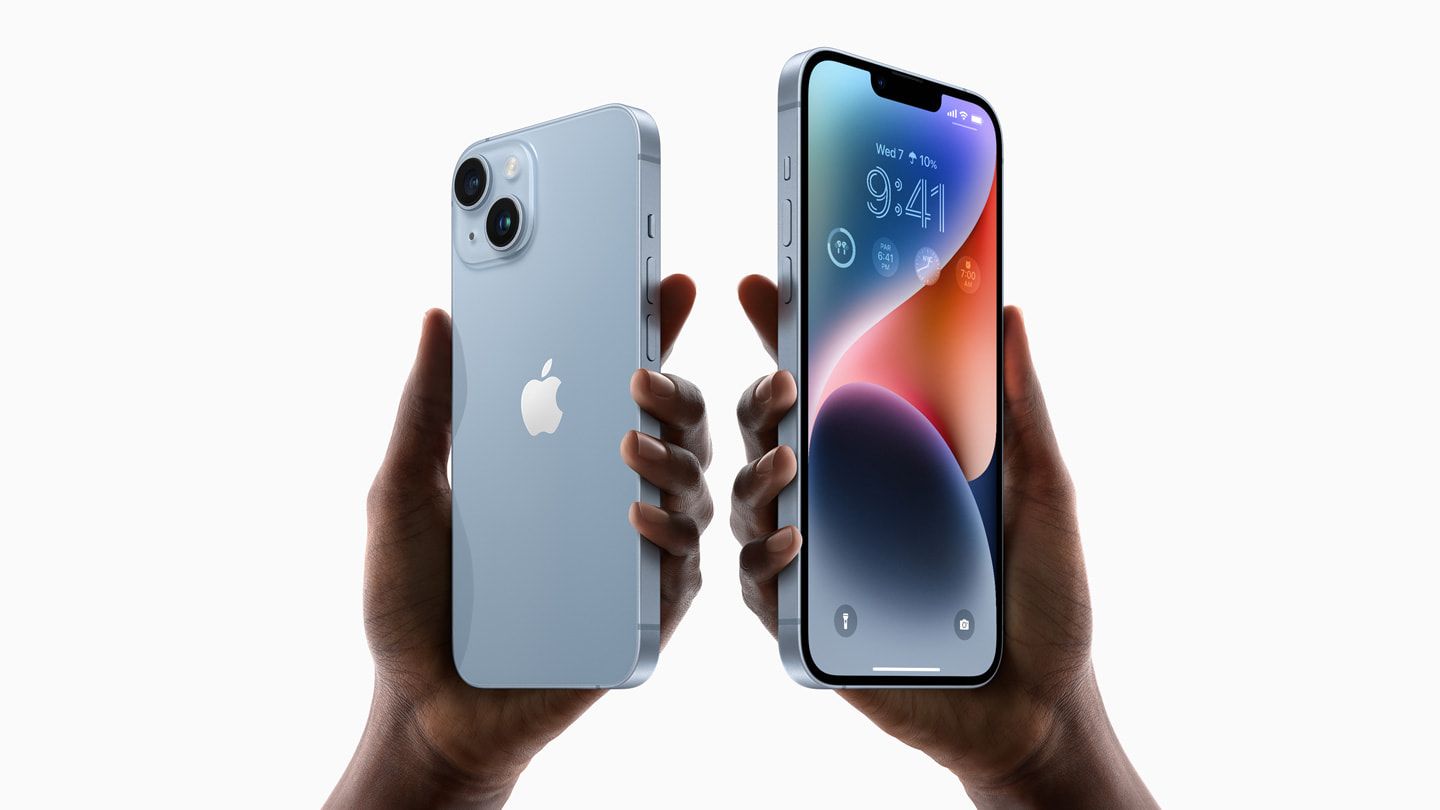
A Complete Guide on How To Switch SIM Cards in an iPhone
Learn how to change SIM cards in iPhones
Summary
- Things to Consider Before Switching Your SIM Card
- A Step-by-Step Guide to How You Switch Physical SIM Cards In iPhones
- How Do I Change From an eSIM to Physical SIM Card on My iPhone
- How Do I Change From a Physical SIM Card to an eSIM On My iPhone
- Troubleshoot Methods If Your SIM Card Does Not Work on Your iPhone
- Embrace the Convenience of eSIM Technology with Nomad eSIMs
Knowing how to change the SIM card in your iPhone is essential for managing your mobile connectivity. Whether you want to switch carriers, upgrade to a new device, or travel internationally and need a local SIM or eSIM, understanding the process is key to staying connected.
This knowledge gives you control over your mobile options, letting you choose the best and often most cost-effective solution for your needs. Plus, knowing how to change from a physical SIM to an eSIM — or vice versa — is a valuable skill for any iPhone user, allowing you to adapt to different situations and stay connected seamlessly.

Things to Consider Before Switching Your SIM Card
Switching SIM cards in your iPhone can be a straightforward process, but there are a few things to keep in mind before making the change:
Ensure Your iPhone Is Carrier Unlocked
Before changing SIM cards, it's essential to ensure your iPhone is carrier unlocked. This is especially important if you plan to use SIM cards from other carriers, and particularly when traveling internationally.
A locked iPhone will only work with a specific carrier, limiting your options. Therefore, make sure to contact your current carrier to check if your iPhone is unlocked, and if it isn't, request an unlock if you're eligible.
Back Up Your Contacts to Your iPhone Before Changing SIM Card
Before you change your SIM card, it's crucial to back up your contacts. Contacts are often stored directly on the SIM, and you don't want to risk losing them. Use iCloud, your computer, or any other reliable backup method to safeguard your contact list.
Ensure Proper Storage of the SIM Card Not In Use
Once you've changed your SIM, keep the old one in a safe place. You might need it again later, perhaps to access information stored on it, or if you decide to switch back. A small envelope or a dedicated SIM card holder is ideal for storing it safely.
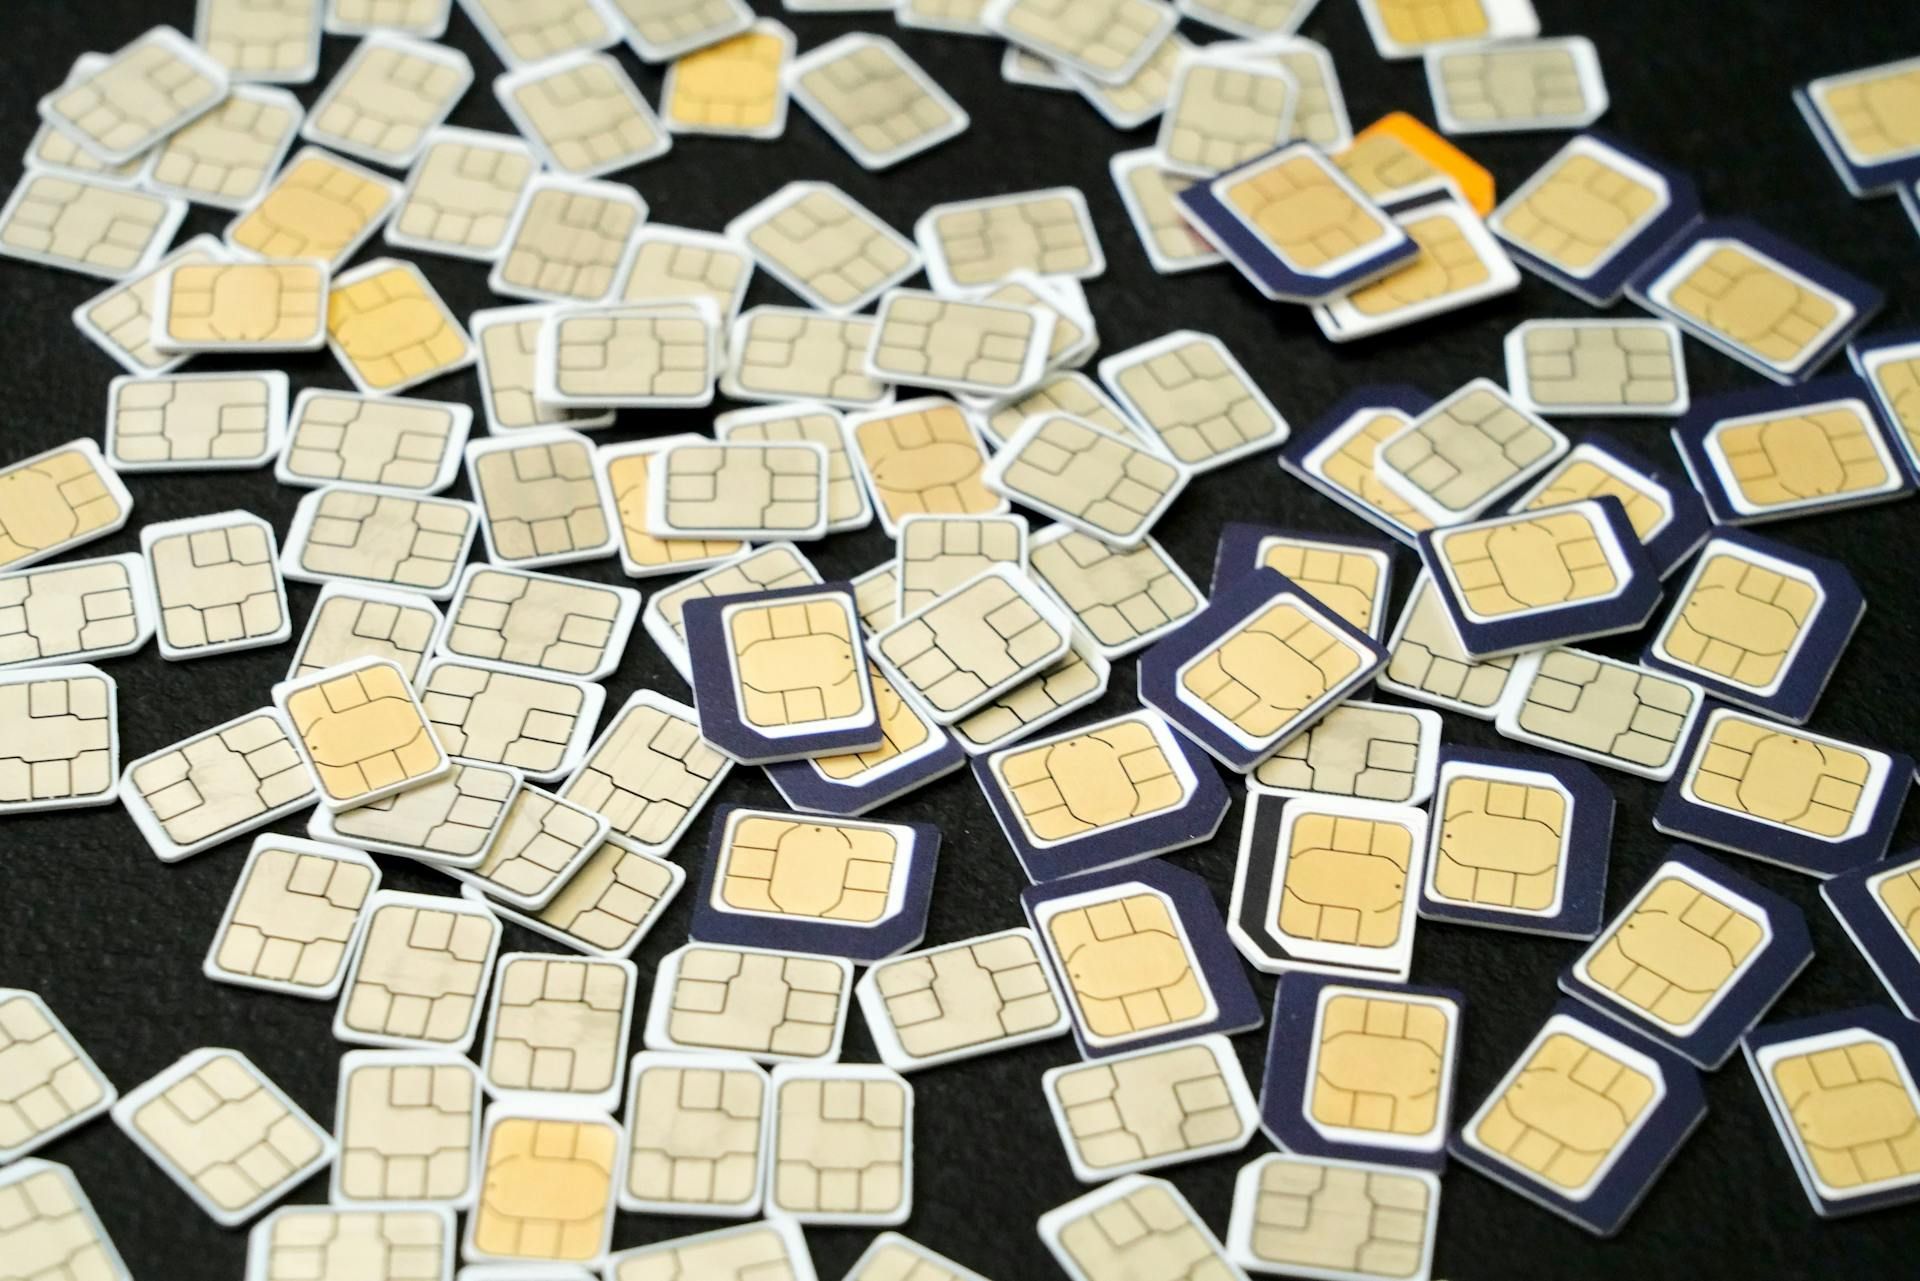
A Step-by-Step Guide to How You Switch Physical SIM Cards In iPhones
To switch physical SIM cards on your iPhone is easier than you might think. This guide provides a clear, step-by-step walkthrough on how you can change a physical SIM card in your iPhone, letting you manage your cellular service quickly and efficiently.
1. Locate the SIM Tray
The SIM tray's location varies slightly depending on your iPhone model. It's usually found on either the right or left side of the device, or sometimes on the top. Consult your iPhone's documentation or do a quick online search if you're unsure of its precise location.
2. Remove the SIM Tray With a Paper Clip or SIM-eject Tool
Once you've found the SIM tray, you'll see a small hole next to it. Insert a paper clip or a SIM-eject tool (often included with new iPhones) into this hole. Gently push inwards, towards your iPhone, until the tray pops out slightly. Don't force it; if it's stuck, try a little more pressure, but if it still won't budge, it's best to consult Apple Support or your carrier.
3. Install the Physical SIM Card and Place the Tray Back
Carefully take out the SIM tray from your iPhone. You'll see a small slot for the SIM card. Note how there’s a notch on the corner of your SIM; this means it only fits in the tray one way. Place the SIM card in the tray, ensuring it's correctly aligned. Then, carefully slide the tray back into your iPhone in the same orientation you removed it. It should click into place.
How Do I Change From an eSIM to Physical SIM Card on My iPhone
Need to switch from an eSIM to a physical SIM card on your iPhone? This guide provides clear instructions on how to change from an eSIM to a physical SIM, helping in ensuring a simple and straightforward process.
1. Contact Your Mobile Carrier
The first step in converting from an eSIM to a physical SIM is to contact your current mobile carrier. They'll guide you on how through their specific process, which might involve ordering a physical SIM card online, visiting a store, or other steps. Make sure to have your details on hand for account verification.
2. Remove and Deactivate Your eSIM
Before inserting the physical SIM, you'll need to remove and delete your eSIM and its profile on your iPhone. Go to Settings > Cellular, then tap the eSIM you want to remove. Choose "Remove Cellular Plan" to deactivate it.
3. Obtain and Activate the Physical SIM
Once you have the physical SIM from your carrier, insert it into your iPhone's SIM tray (refer to previous instructions for locating and accessing the tray). Then, follow your carrier's instructions to activate the new physical SIM. This might involve a phone call, visiting their website, or a simple restart.
Things to Consider Before Switching From an eSIM to Physical SIM
Carrier Policies
Before switching from an eSIM to a physical SIM, it's crucial to understand your carrier's policies. Some carriers may readily offer the option to switch back to a physical SIM if needed, while others might have restrictions or require a new SIM card.
Device Compatibility
While most newer iPhones support both eSIMs and physical SIMs, it's worth double-checking your specific iPhone model's compatibility, especially if it's an older device. Some older models may only support physical SIMs. Also, confirm that the physical SIM card you're getting is the correct size for your iPhone's SIM tray (nano-SIM).
Note: The type of SIM used varies by country. Please check your local phone specifications for the most accurate specs.
How Do I Change From a Physical SIM Card to an eSIM On My iPhone
While there are many pros and cons regarding eSIMs vs physical SIMs, ultimately, changing to an eSIM on your iPhone is a great way to simplify your mobile life. Here’s how to get started:
1. Check Your iPhone’s Compatibility with eSIMs
Most newer iPhone models (iPhone XS and later) are compatible with both eSIMs and physical SIM cards, but it's always good to double-check. If you’re wondering how to check if your iPhone is eSIM compatible, you can usually take this information out from your iPhone's settings or via Apple's website.
2. Ensure Stable Network Connectivity
A stable Wi-Fi or cellular connection is crucial for downloading and activating your eSIM profile. Make sure you're connected to a reliable network before starting the process. This will prevent any interruptions during the installation.
3. Follow the On-screen Instructions For eSIM Installation
The process for converting to an eSIM is generally straightforward. Go to Settings > Cellular > Convert to eSIM (if your carrier supports it). Then, simply follow the on-screen prompts provided by your iPhone. These will guide you through the necessary steps.
4. Remove the Physical SIM After the eSIM Installation Is Complete
Once the eSIM is activated and working, you can safely take out the physical SIM card from your iPhone. Store it in a safe place in case you need it again in the future. After removing the physical SIM, restart your iPhone for good measure. To learn more about how to install an eSIM on both iOS and Android phones, you can take a look at our comprehensive guide here.

Troubleshoot Methods If Your SIM Card Does Not Work on Your iPhone
Check the SIM Card
Ensure the SIM card is properly inserted in the tray, and that the tray is correctly placed in your iPhone. If you recently switched SIMs, double-check that you're using the right SIM card for your current carrier and that it's not damaged or expired. H3 Restart Your iPhone
A simple restart can often resolve minor software glitches that might be interfering with your SIM card. By restarting your iPhone, you refresh the system, which can often resolve connectivity issues and get your SIM card working properly again.
Reset Your Network Settings
If restarting your phone doesn't help, try resetting your network settings. This can resolve network configuration problems that might be affecting the SIM card. Go to Settings > General > Transfer or Reset iPhone > Reset > Reset Network Settings.
Test the SIM Card On Another Device
To determine if the issue lies with the SIM card itself or your iPhone, try inserting the SIM card into another compatible device. If it works on another device, the problem is likely with your iPhone. If not, the SIM card might be faulty.
Check With Your Network Provider
If none of the above steps resolve the issue, it's best to contact your network provider. They can teach you how to troubleshoot further, check for any network-related issues, or provide a replacement SIM card if necessary.
Embrace the Convenience of eSIM Technology with Nomad eSIMs
Nomad eSIMs offer a seamless and convenient solution for managing your iPhone's connectivity, whether you're traveling the globe or simply looking for a more streamlined mobile experience.
With Nomad, you can say goodbye to the hassle of physical SIM cards and embrace the flexibility of eSIM technology. Our global data plans keep you connected in over 200 countries, while our user-friendly app and 24/7 customer support ensure a smooth and worry-free experience. Choose Nomad eSIMs today, and enjoy effortless connectivity wherever you go!